Optimal Timing for Shiplap Installation
Shiplap installations are influenced by seasonal conditions, with optimal timing depending on climate and indoor environment. Proper planning ensures quality results and longevity of the installation.
Spring offers moderate temperatures and higher humidity levels, which help in proper adhesive curing and wood acclimation.
Summer provides longer daylight hours and generally dry conditions, but excessive heat and humidity can affect adhesion and expansion.
Autumn's cooler temperatures and lower humidity levels reduce the risk of warping and allow for thorough drying before winter.
Winter's cold and dry air can cause wood to shrink or crack, making it less ideal for installation without climate control.
Spring's moderate weather supports proper adhesion and wood acclimation.
Summer's warmth can accelerate drying but requires attention to humidity levels.
Autumn's cooler air helps prevent warping and ensures stable installation conditions.
Ways to make Shiplap Installations work in tight or awkward layouts.
Popular materials for Shiplap Installations and why they hold up over time.
Simple add-ons that improve Shiplap Installations without blowing the budget.
| Season | Ideal Conditions |
|---|---|
| Spring | Moderate temperatures, higher humidity, good for adhesive curing. |
| Summer | Warm and dry, but watch for excessive heat and humidity. |
| Autumn | Cooler temperatures, lower humidity, ideal for stable installation. |
| Winter | Cold and dry, less suitable unless climate-controlled. |
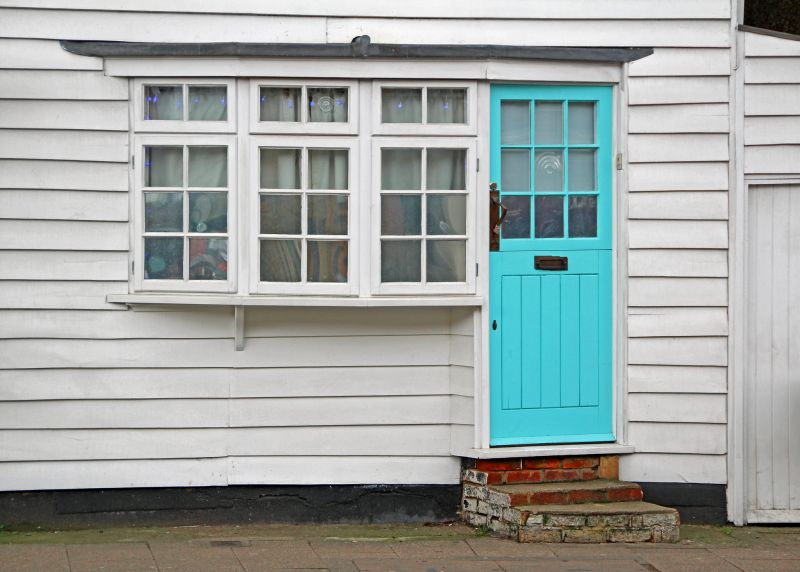
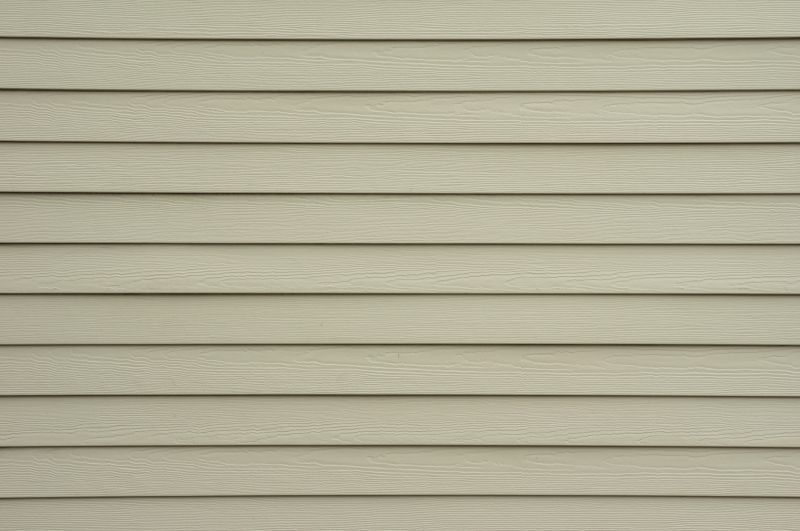
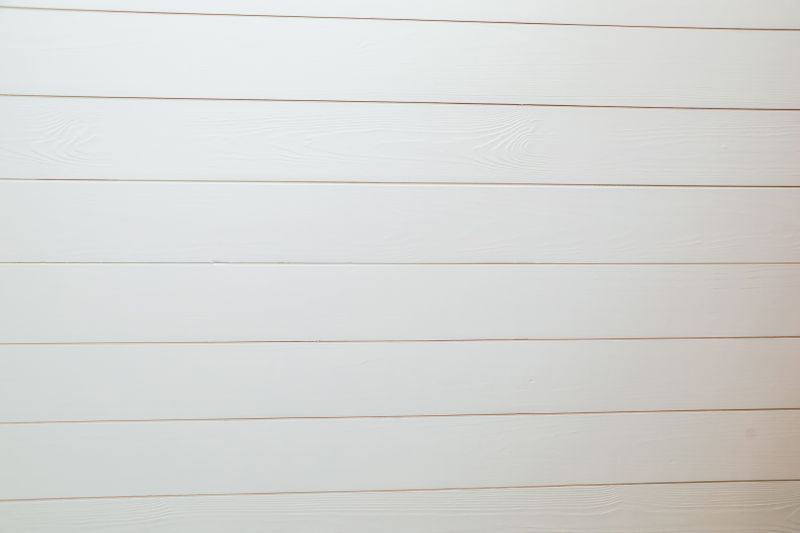
Shiplap installations involve attaching horizontal wooden panels to interior walls, creating a distinctive textured appearance. Proper installation requires acclimating the wood to indoor conditions and ensuring stable environmental factors. Advances in adhesive technology and fastening methods have improved installation quality, making it feasible year-round with appropriate climate control. Proper timing minimizes issues such as warping, cracking, and adhesion failure, ensuring a durable finish.
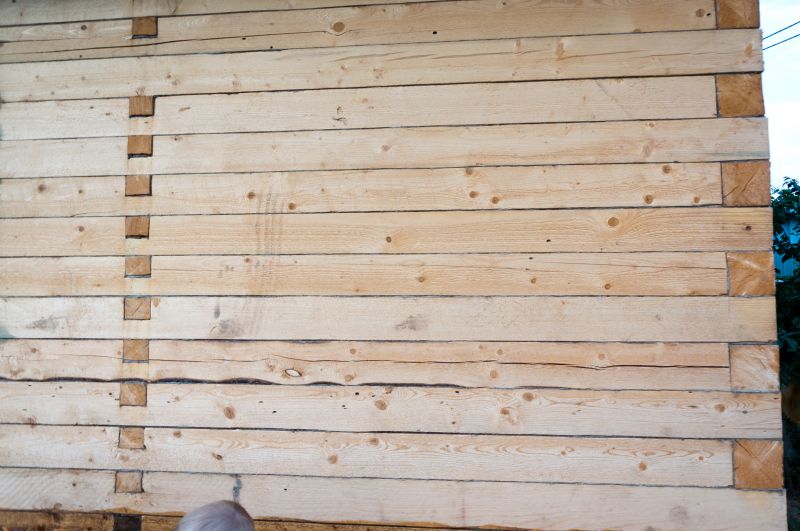
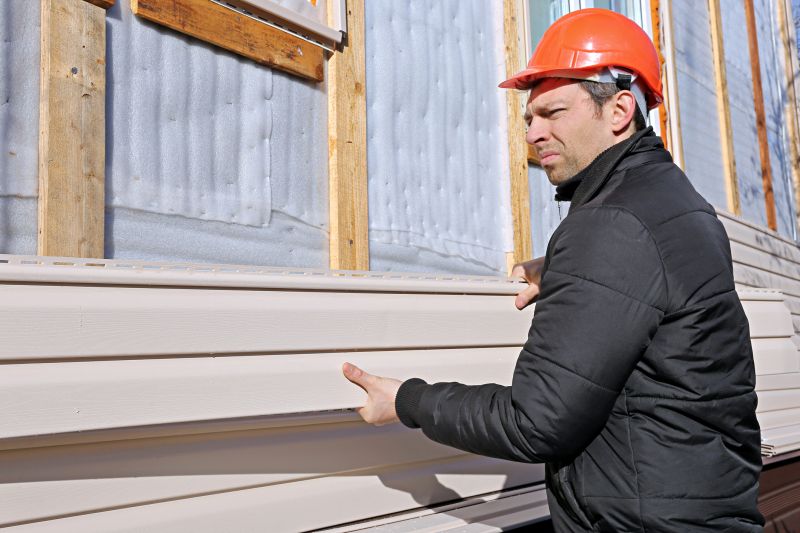
A typical installation showing panels being affixed to a wall.
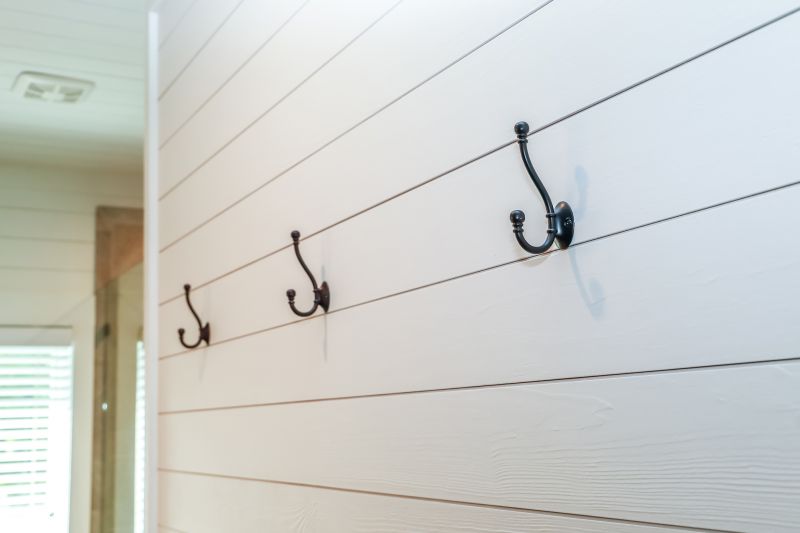
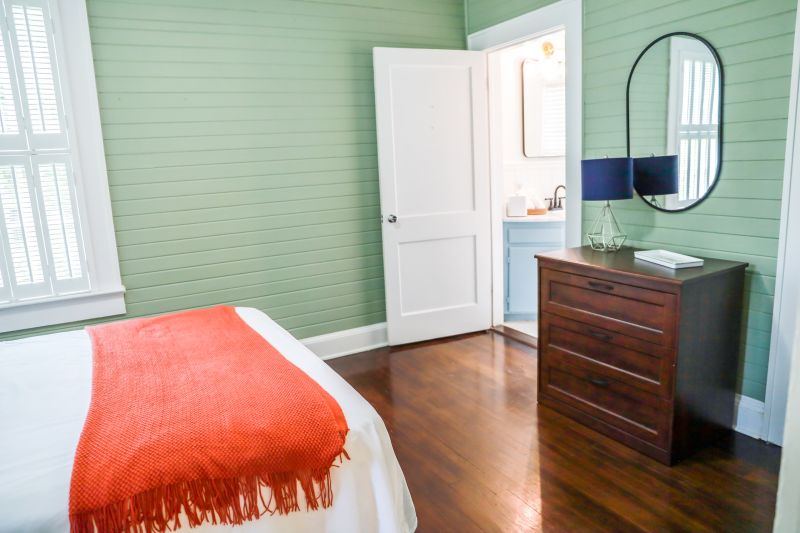
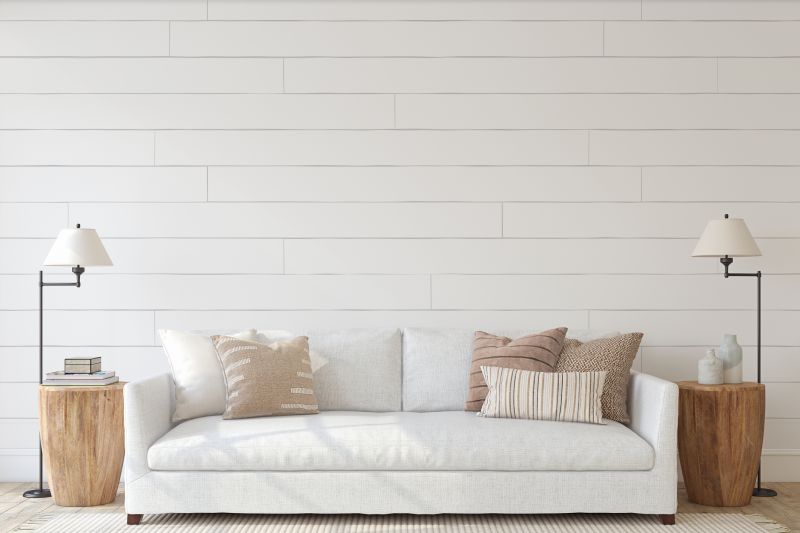
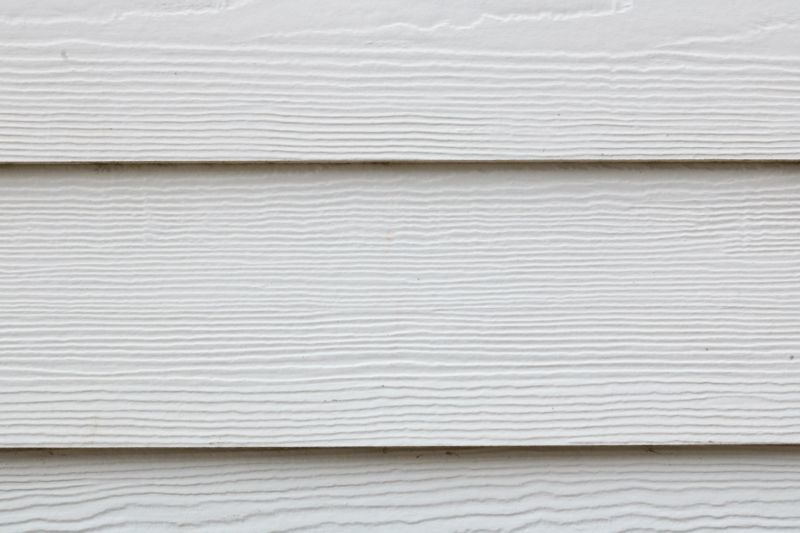
Completed shiplap installation with a clean, textured look.
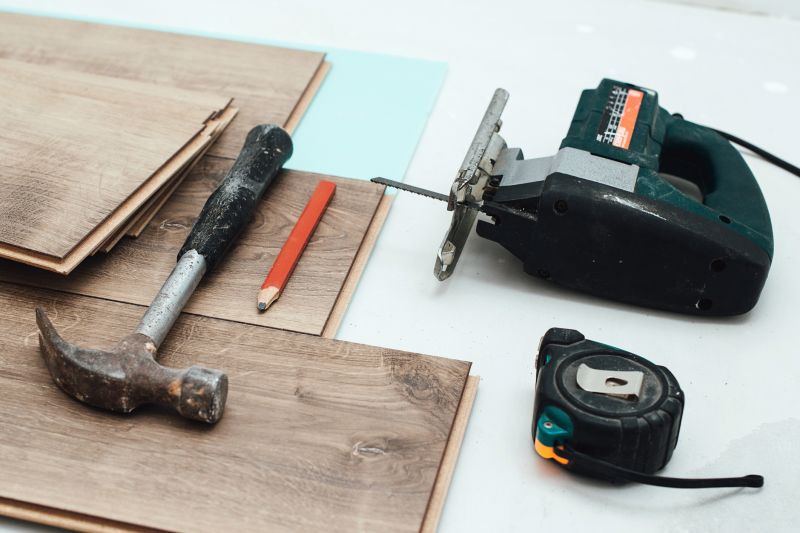
Common tools used include nail guns, levels, and saws.
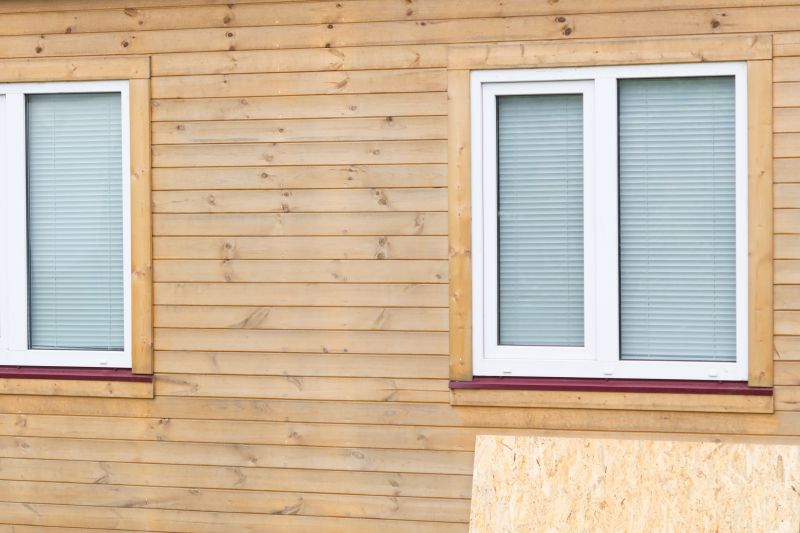
Versatile application in various interior styles.

High-end options that actually feel worth it for Shiplap Installations.
Finishes and colors that play nicely with Shiplap Installations.
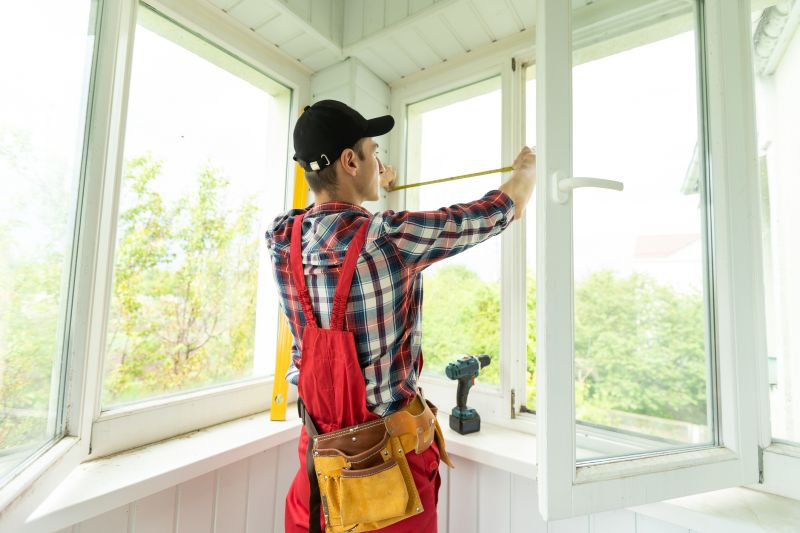
Little measurements that prevent headaches on Shiplap Installations day.
A 60-second routine that keeps Shiplap Installations looking new.
Interested in shiplap installation services? Filling out the contact form provides an opportunity to discuss project details and scheduling options. Proper timing and preparation are key to achieving the desired aesthetic and ensuring a lasting finish.